


N
478 >
767 >
991 >
BASE
> 1440
Edit main elements in one place (in the Design view), changes made here will be reflected throughout the website.
1. Double-click on the symbol located on the right containing menu items.
2. Once inside the symbol, select each menu item by clicking on it, and adjust its text, link, and background image using the "Properties" panel visible on the right.
3. If you don't need any of the items, simply select and delete them. If you'd like to add more items, just copy and paste the last one, and adjust its properties accordingly.
1. Double-click on the symbol located on the right containing the logo.
2. Once inside the symbol, replace the logo image with your desired image in the "Settings" panel on the right.
1. Double-click on the symbol located on the right containing the logo.
2. Once inside the symbol, replace the logo image with your desired image in the "Settings" panel on the right.
Note: For consistency, ensure that the new logo variant has the same dimensions as the logo in the dark menu.
1. Double-click on the symbol located on the right containing the phone number.
2. Once inside the symbol, simply edit the text as needed.
1. Double-click on the symbol located on the right containing the text.
2. Once inside the symbol, edit the text content as required.
You can easily change the accent color of all ribbons on your site. Here's how:
1. Click on the ribbon located on the right to select it.
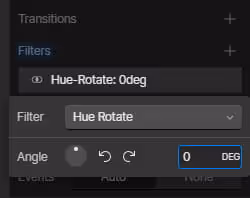
2. In the Style tab, scroll down to Filters and click on 'Hue-Rotate'.
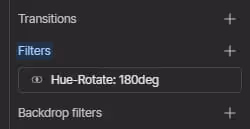
3. Adjust the 'Hue-Rotate' Angle value to change the color as desired.
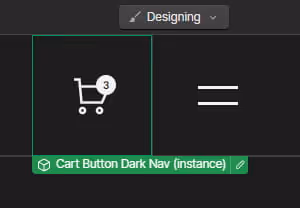
1. Double-click on the "Menu Dark" symbol to go inside it.
2. Click on the cart button symbol to select it, and then delete it.
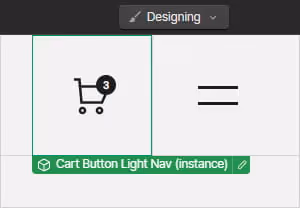
3. Repeat the same steps for the "Menu Light" symbol - double-click to enter, select the cart button, and delete it.
1. While in the Designer view, navigate to the page containing the button you want to modify.
2. Click on the button symbol to select it.
3. In the Properties panel on the right side of the screen, adjust the button's target URL and text.
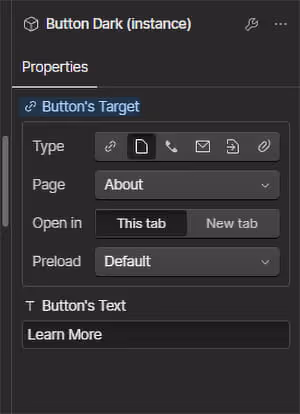
4. Repeat these steps for each button whenever you need to modify its properties.
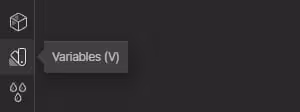
1. While in the Designer view, locate the Variables button on the left side of the screen and click it.
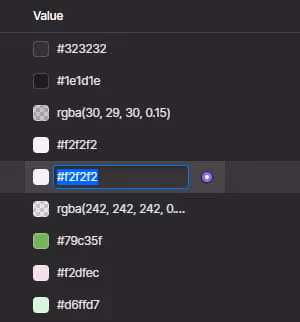
2. In the Variables panel, modify individual colors in the "Value" column by either clicking on the color's swatch icon or entering the value directly.
If you have any questions regarding editing the template or its functionality that aren't addressed in the tutorials above, please don't hesitate to reach out. We're here to help! Simply contact us at silverrost.webflow@gmail.com